
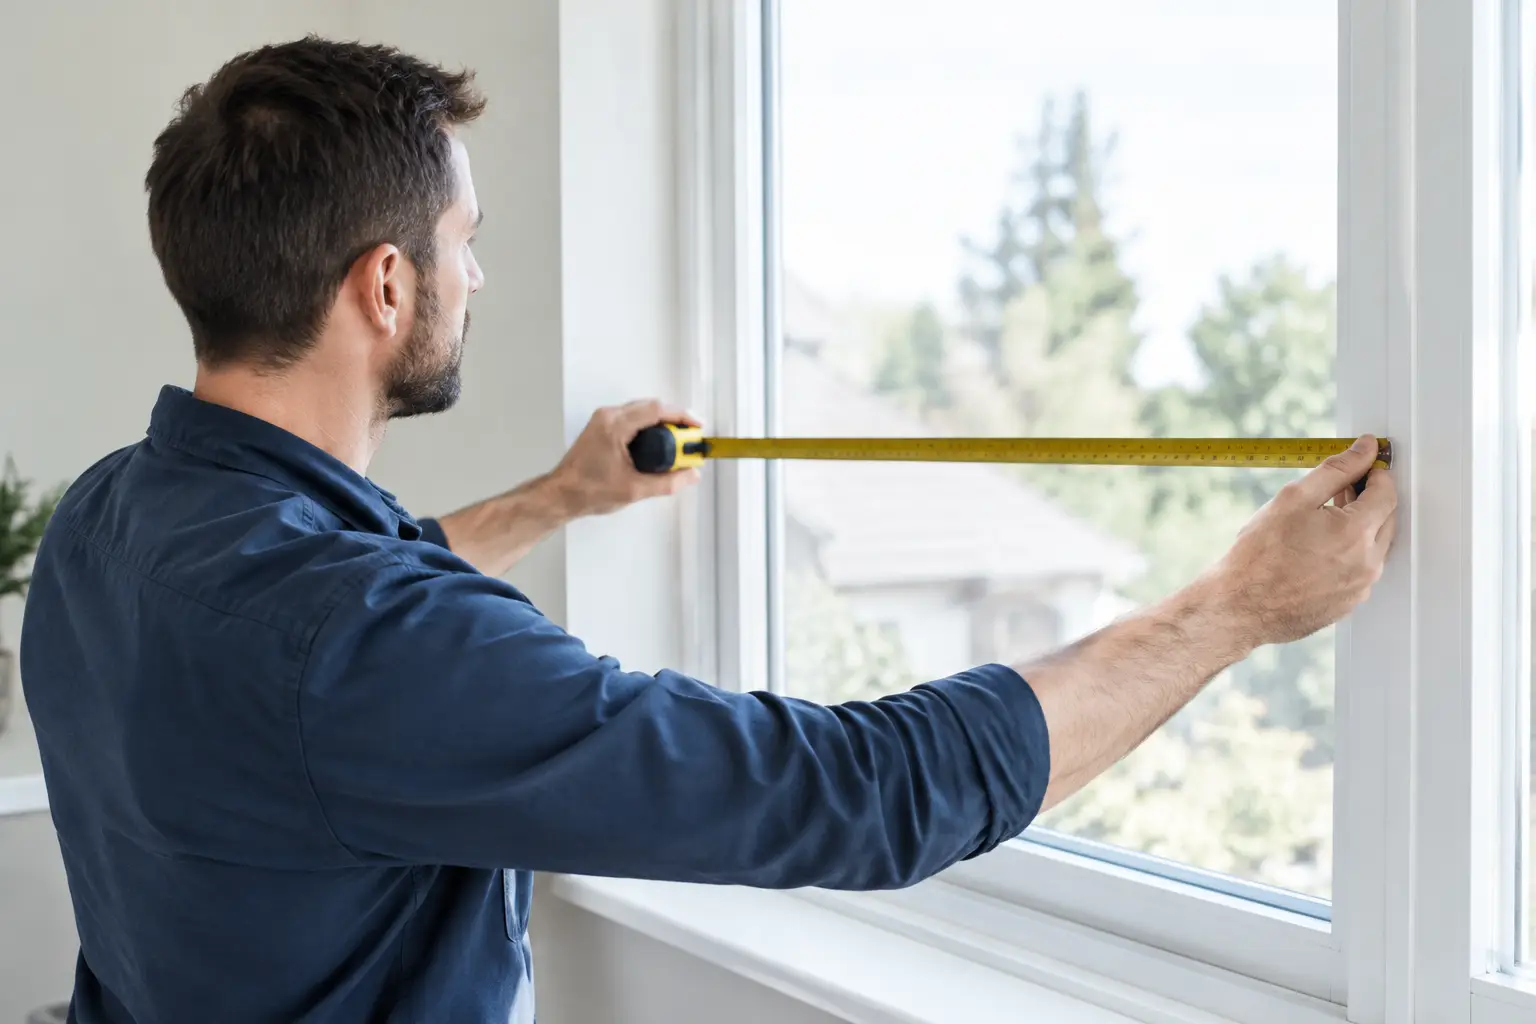
A replacement window that is only a few millimetres out can create needless problems with fitting, weatherproofing and the finished appearance. Knowing how to measure replacement windows gives you a useful starting point for comparing options and requesting a quotation, but the final size should always be confirmed by a professional survey before anything is ordered.
For homeowners in Doncaster and across South Yorkshire, this is particularly relevant in older properties, where openings are not always perfectly square and previous windows may have concealed uneven brickwork. Take careful notes, measure more than once and treat your figures as guidance rather than an installation specification.
What you need before measuring
Use a good-quality metal tape measure, ideally one long enough to reach across the entire opening without being extended too far. Keep a notebook or use your mobile phone to record each window separately. A pencil, straight edge and camera are also helpful.
Measure in daylight where possible, and do not lean out of an upstairs window to reach an external reveal. If an opening cannot be measured safely from inside, leave that part to an installer. Peace of mind matters more than a quick measurement.
It also helps to decide what you are measuring for. If you want a broad budget estimate, the opening width and height are normally enough. If you are comparing casement, flush sash, sliding sash or tilt-and-turn designs, photographs of the inside and outside of each window will help show the existing arrangement, sightlines and any access issues.
Measure the opening, not the glass or old frame
The most common mistake is measuring the visible glass, the opening sash or the internal window board. None of these gives the size of the replacement window.
What matters is the structural opening in the wall, often called the brick opening or aperture. This is the gap between the brickwork or other solid structure that surrounds the existing frame. New windows need fitting clearance around the frame, so the finished unit will usually be slightly smaller than the opening. The exact allowance depends on the product, the condition of the opening and the fitting method.
In many homes, internal plaster, tiles or timber trims overlap the edge of the old frame and hide the true opening. External render can do the same. Do not guess at what is behind these finishes or try to remove them simply to take a measurement. Record what you can see and make a note where the actual brickwork is obscured.
How to measure replacement windows in three places
Every opening should be measured in three positions across its width and three positions down its height. Walls settle over time, and even modern openings can vary slightly from one side to the other.
Measure the width
Take the width at the top, centre and bottom of the opening. Measure from one side of the structural opening to the other, rather than from the edges of the existing frame. Write all three figures down in millimetres.
Use the smallest measurement as the working width for an initial quotation. This avoids assuming the opening is wider than it is at its narrowest point. For example, if you record 1,205 mm at the top, 1,201 mm in the centre and 1,198 mm at the bottom, note 1,198 mm as the minimum width.
Measure the height
Next, measure from the top of the opening to the sill or bottom structural opening on the left, centre and right. Be clear about what supports the existing window. A stone or concrete sill may be retained, while a timber board inside the room is not part of the external opening.
Again, use the smallest figure as your preliminary height. Make a note if the sill slopes, if there is a tiled internal reveal or if the measurement has been taken from a finished floor level rather than the actual opening.
Check the diagonals
Measure from the top-left corner to the bottom-right corner, then from the top-right corner to the bottom-left corner. If the two diagonal figures are close, the opening is reasonably square. A larger difference does not mean replacement windows cannot be fitted, but it does tell the surveyor that the opening may need particular attention.
Do not try to correct an out-of-square opening by changing your figures. A skilled installer will assess how the new frame should sit, how much clearance is needed and how best to finish the internal and external reveals.
Record your measurements clearly
A simple record prevents crossed wires when you have several windows to replace. Give every opening a location, such as “front bedroom left” or “kitchen side elevation”, then note the minimum width and height in the same order each time: width x height.
Alongside the figures, record whether the window is on the ground floor or upstairs, whether it opens outwards or inwards, and whether there are any features nearby such as a conservatory roof, external pipework, shutters or restricted access. These details can affect the installation approach even when the opening itself is straightforward.
Photographs are worth including with your notes. Take one from inside, one from outside and a closer image of the sill and surrounding brickwork. If you are considering a different style, such as changing a dated casement window to a flush sash design, clear photos make it easier to discuss what will suit the property.
Do not overlook depth, cills and reveals
Width and height establish the basic size, but a window must also work properly within the depth of the wall. Measure the internal reveal depth where practical, from the internal finish towards the existing frame, and note whether the walls are particularly deep or shallow.
You should also look at the external cill. Is it a projecting stone cill, a concrete cill, a tile feature or part of the existing window system? Replacement windows often need an appropriate cill arrangement to direct rainwater away from the property. This is something a surveyor will specify, but flagging it early makes a quotation more accurate.
Deep reveals can affect handle clearance and the amount of light entering the room. Very shallow reveals may influence which profile and finish will look best. There is rarely one right answer, especially across mixed brick, render and stone properties, which is why product advice should follow a look at the opening rather than a measurement alone.
Extra care for bays, sash windows and unusual openings
Bay windows should not be treated as one wide flat opening. Each section needs measuring separately, including any angled corner posts. The angles between windows are just as important as their individual widths, and an incorrect bay angle can leave gaps or distort the overall line of the installation.
For sliding sash windows, note the full opening height and check whether there are horns, arched heads, timber linings or original features that you want to retain visually. Heritage-style replacements can offer improved energy efficiency and security while respecting the character of the home, but their proportions need to be carefully considered.
Arched, shaped and leaded windows also need a professional template or detailed survey. The same applies to windows above conservatories, in loft conversions or where access requires specialist equipment. These are not jobs to estimate from a single measurement.
When a professional survey is essential
A professional survey is always required before ordering fitted replacement windows. Your own measurements are useful for planning your budget, narrowing down styles and beginning a sensible conversation. They are not a substitute for the final site check.
A surveyor will inspect the brick opening, condition of the surrounding structure, drainage, cavity closers, cills, lintels, access and the position of services. They will also confirm the final frame size, glass specification, safety glazing requirements and opening configuration. Toughened glass, for example, may be required in certain low-level locations or near doors.
This is where an experienced local installer earns trust. At JF Bodman Ltd, the aim is not simply to make a new window fit the gap. It is to make sure it looks right, operates properly, keeps out the weather and contributes to a warmer, more secure home.
Take your measurements carefully, keep your notes and photos together, then use them as the starting point for honest advice. The right replacement window is measured with care, specified for the property and fitted to a standard you can rely on for years to come.